
Upcoming webinar on 'Inforiver Charts : The fastest way to deliver stories in Power BI', Aug 29th , Monday, 10.30 AM CST. Register Now
Upcoming webinar on 'Inforiver Charts : The fastest way to deliver stories in Power BI', Aug 29th , Monday, 10.30 AM CST. Register Now
If you have registered for a trial of Reporting Matrix/ Analytics+ or have a paid subscription of Reporting Matrix, you will receive an email with a link to download the visual as a .pbiviz file.
For paid subscriptions, the visual is already embedded with a unique dynamically generated license key. This means you do not have to enter any license key in the visual.
TROUBLESHOOTING:
Make sure there are no spelling mistakes/typos in the mail id used for registration.
Check your spam folder or whitelist no-reply@inforiver.com.
If that doesn’t work, reach out to your IT team and ask them to whitelist the domain at the firewall level. You would start receiving subsequent emails from us in your inbox.
If you still have difficulties, reach out to us here.
There are 2 different methods to deploy Inforiver in Power BI:
1. Open your report in Power BI Desktop or Power BI service.
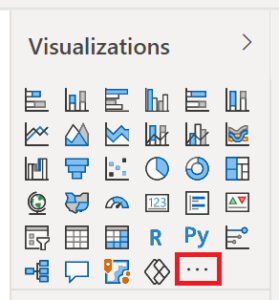
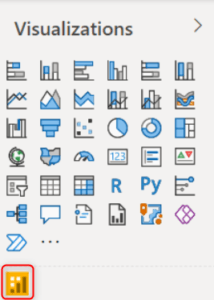
2. Select the ellipsis from the visualizations pane.
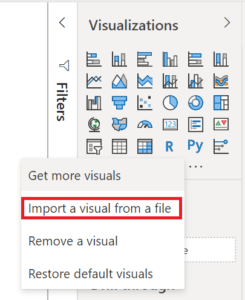
3. Select Import a visual from a file from the menu.
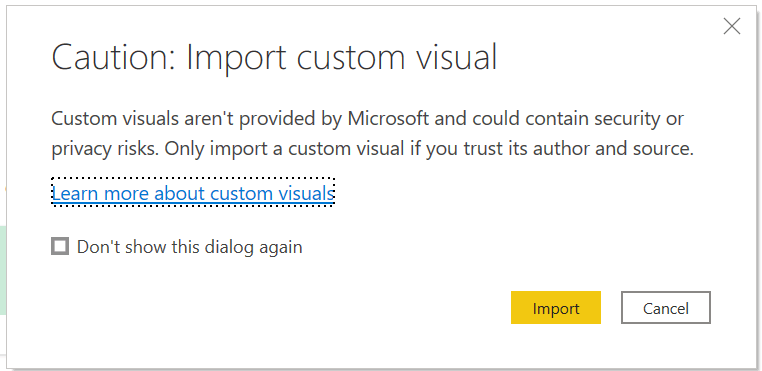
4. If you get a message cautioning you about importing custom files, select Import.
5. Navigate to the folder that has the custom visual file (.pbiviz) and open it.
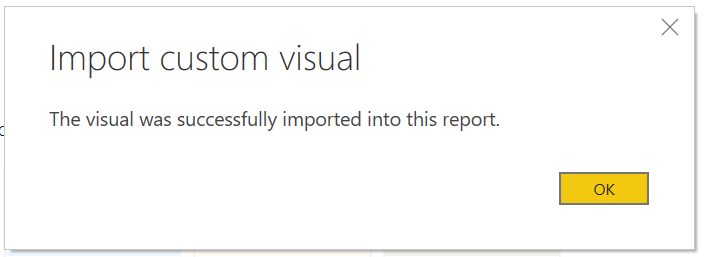
6. When the visual has successfully imported, select OK.
7. The visual now appears as a new icon in the visualizations pane of the current report.
8. If you want the visual to remain on the visualization pane for all reports right-click on it and select Pin to visualizations pane.
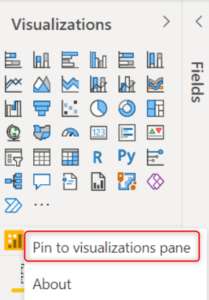
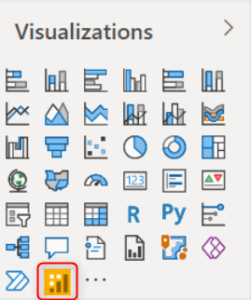
9. The visual gets pinned.
Your administrator will access the admin portal and install Inforiver under Organization visuals.
To add Inforiver under the “My Organization” Tab in Power BI, ask your Power BI Admin to follow the steps here.
This document is designed to help you understand and kickstart your journey with Reporting Matrix effortlessly. By the end of this guide, you should have a sense of what Inforiver can do and feel comfortable expanding and customizing your report.
Click here to download.

Inforiver helps enterprises consolidate planning, reporting & analytics on a single platform (Power BI). The no-code, self-service award-winning platform has been recognized as the industry’s best and is adopted by many Fortune 100 firms.
Inforiver is a product of Lumel, the #1 Power BI AppSource Partner. The firm serves over 3,000 customers worldwide through its portfolio of products offered under the brands Inforiver, EDITable, ValQ, and xViz.